
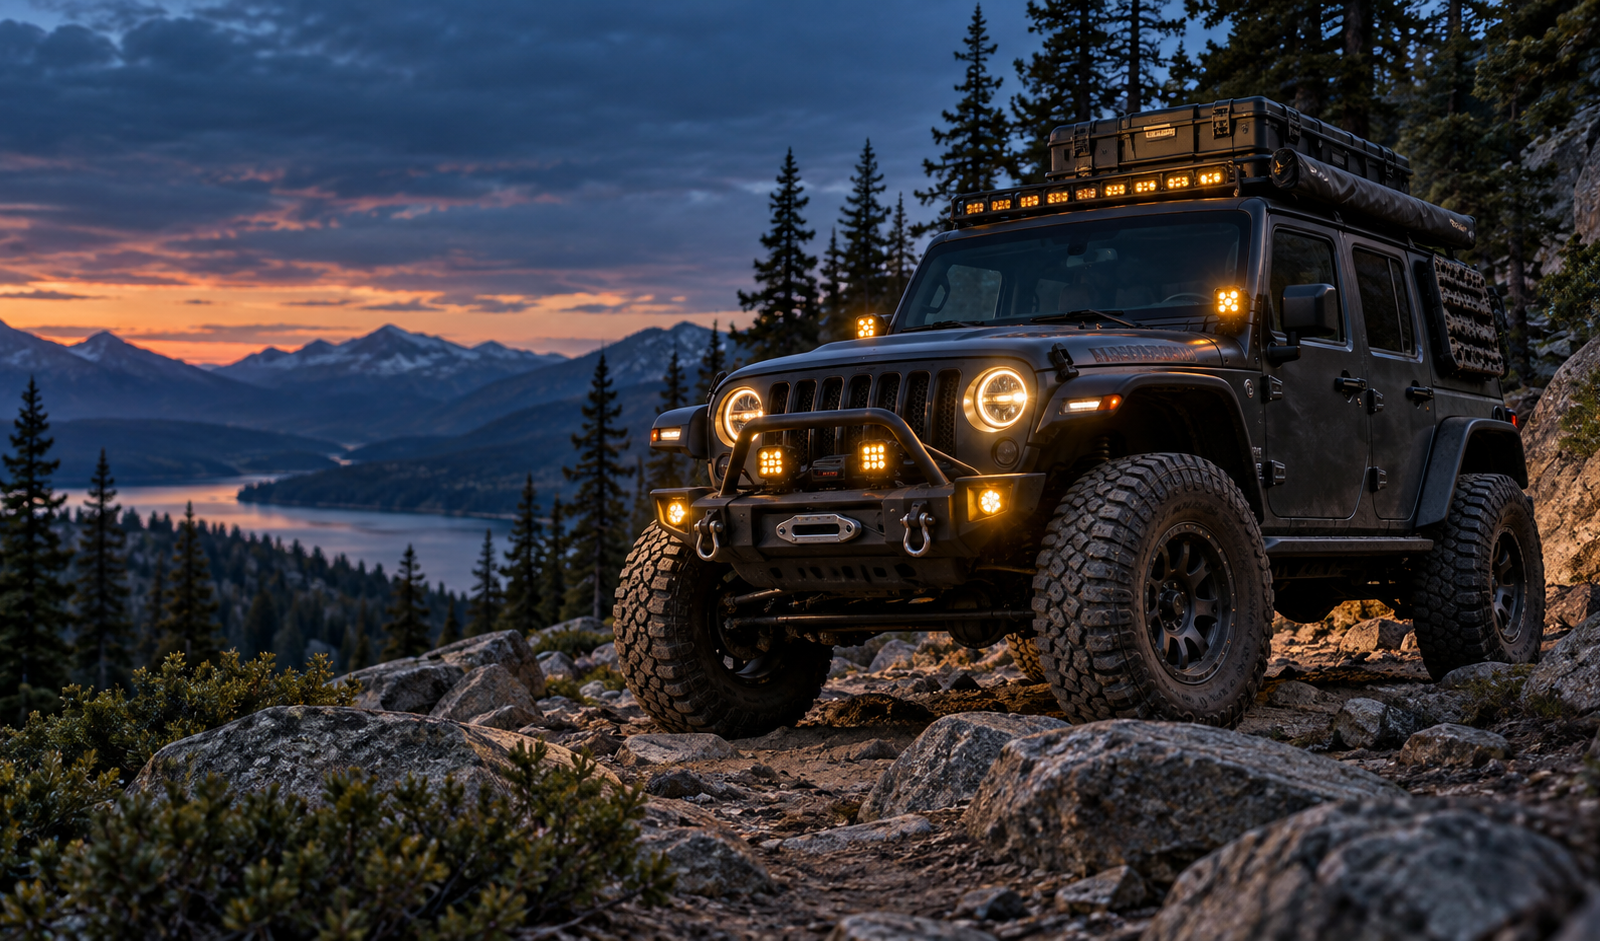
OMU 4×4 accessories are designed for drivers who want their vehicle to work harder on real terrain. A 4×4 build needs storage, visibility, access, and utility. It should help the driver carry gear, reach equipment, organize tools, and drive more confidently at night.
For Jeep Wrangler and Gladiator owners, the best upgrade path is modular. Instead of adding one large accessory and expecting it to solve every problem, owners can build a complete OMU accessory system around the way the vehicle is actually used.
Why Modular 4×4 Accessories Matter
A 4×4 vehicle often changes roles. It may be a daily driver during the week, a camping vehicle on weekends, and a trail recovery platform when needed. Modular accessories make that transition easier because each part has a defined function.
| 4×4 Need | Accessory Type | Benefit |
|---|---|---|
| Night trail driving | A-pillar spotlight | Improves side-forward visibility |
| Exterior tool access | Rear window storage panel | Keeps trail gear visible |
| Roof cargo use | Door hinge step | Makes roof gear easier to reach |
| Long-distance travel | Jerrycan kit | Supports fuel or water planning |
Lighting: A Practical First 4×4 Upgrade
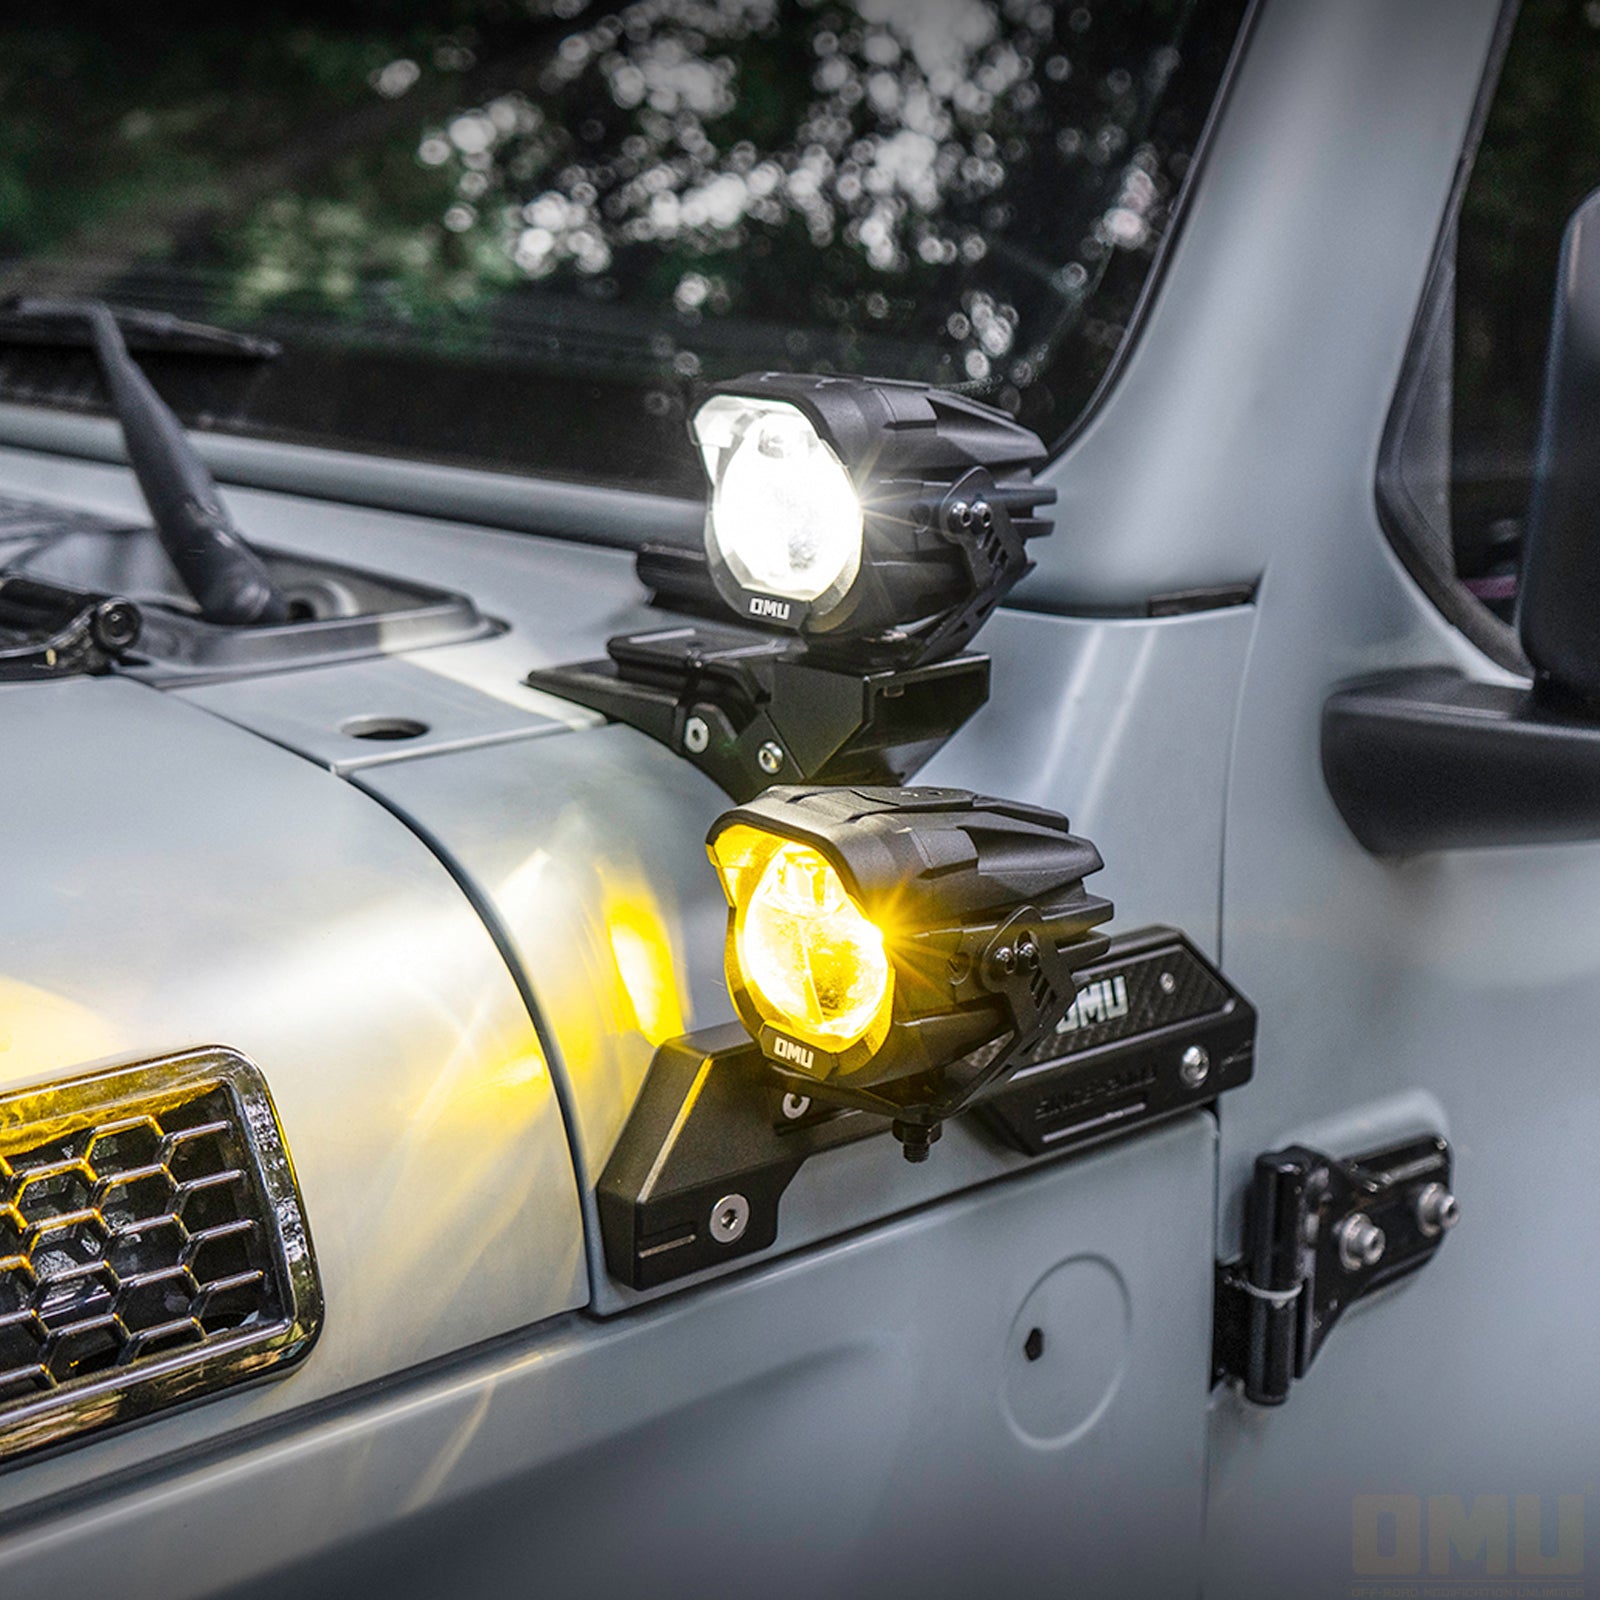
Trail visibility is different from road visibility. Factory headlights point forward, but off-road driving often requires light toward the front corners and side edges. A-pillar lights help the driver see ditches, turns, campsite entrances, and nearby obstacles.
Recommended OMU 4×4 Lighting Upgrade
Storage: Keep Trail Gear Where It Belongs
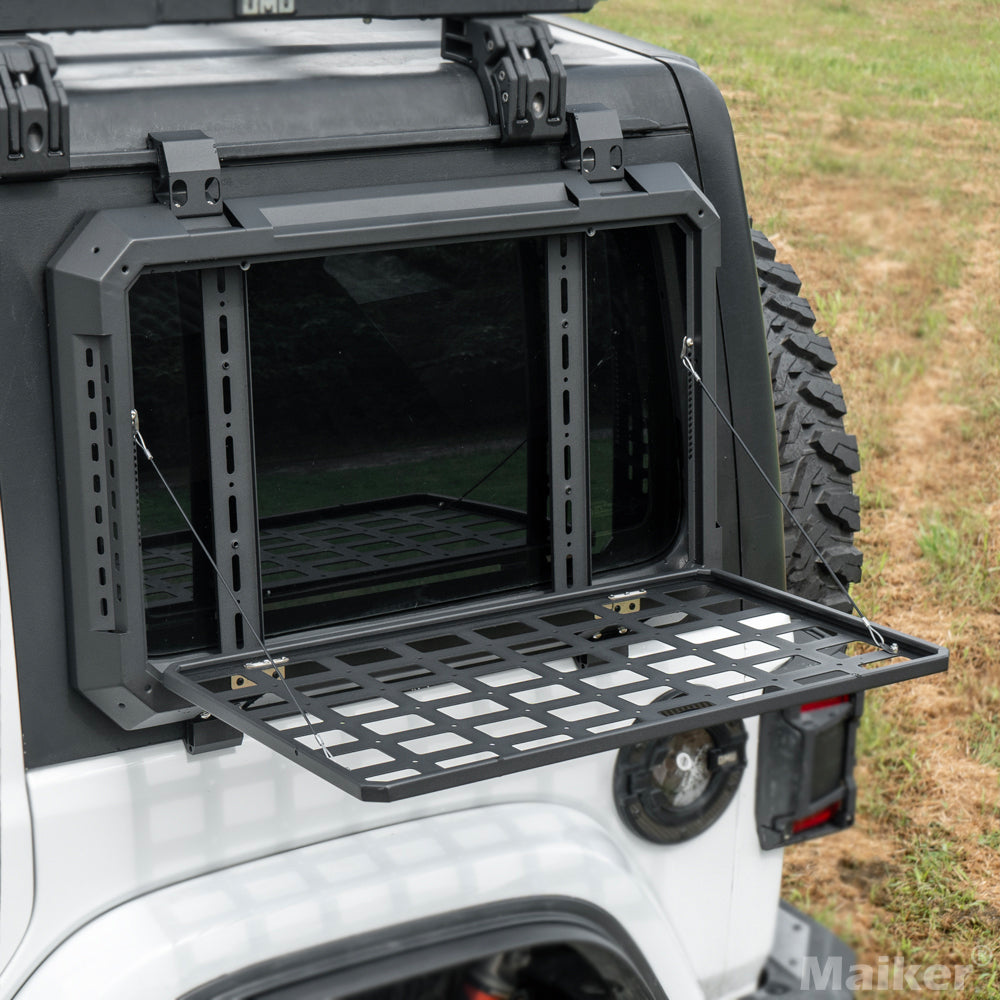
A 4×4 build becomes frustrating when gear is hidden under luggage. Recovery gloves, straps, tire tools, flashlights, and compact accessories should be grouped by task and kept in consistent locations. Rear window storage helps create that system.
Recommended OMU Storage Upgrade
Access: Make Roof Cargo Easier to Use
Roof-mounted cargo is useful only when it can be reached safely. A folding door hinge step gives the driver a more convenient access point for checking straps, loading boxes, and reaching roof-mounted camping gear.
This small utility upgrade becomes more valuable when the vehicle carries roof boxes, recovery boards, awning bags, or other overland equipment. It reduces awkward climbing and makes the roof rack more usable during daily preparation and trail stops.
How to Plan a Clean OMU 4×4 Setup
The best OMU 4×4 accessories should be chosen around the vehicle’s real job. A clean setup usually starts with one core need, then expands into related zones. Lighting, storage, fuel support, and roof access should support one another instead of competing for space.
- Use A-pillar lighting for side-forward visibility.
- Use rear window storage for small tools and modular pouches.
- Use roof cargo for bulky gear that does not need cabin protection.
- Use a Jerrycan kit only when fuel or water planning is part of the trip.
- Use a door hinge step when roof cargo access becomes frequent.
How to Choose an OMU 4×4 Accessory Package
The right OMU 4×4 accessories package depends on how the vehicle is used. A daily-driven Jeep that visits local trails needs a different balance of lighting, storage, and cargo access than a vehicle prepared for multi-day overland travel. Start with the most frequent limitation, then add accessories that solve the next problem without creating unnecessary weight or clutter.
| Use Case | Recommended Priority | What to Look For |
|---|---|---|
| Daily driving and weekend trails | Visibility and organization | Compact auxiliary lighting, accessible tool storage, and clean wiring |
| Camping and overland travel | Storage and cargo access | Modular rear storage, roof access, tie-down planning, and weather-aware packing |
| Remote trail travel | Redundancy and serviceability | Protected wiring, recovery gear access, spare consumables, and simple field maintenance |
Fitment and Installation Checklist
Before buying any 4×4 accessory, confirm the vehicle generation, body style, mounting location, and intended equipment. This is especially important for Jeep Wrangler and Gladiator builds because model year, roof configuration, doors, trim, and existing accessories can affect available mounting space.
- Confirm the exact vehicle model, generation, model year, and body configuration.
- Check whether the installation uses factory mounting points or requires drilling and modification.
- Measure clearance around doors, hinges, roof racks, windows, lights, and recovery equipment.
- Plan cable routing away from sharp edges, heat sources, moving panels, and water collection points.
- Leave access to bolts, fuses, connectors, and service parts so the setup can be maintained later.
- After installation, recheck fasteners and cable protection after the first trail drive.
Build in Stages Instead of Adding Everything at Once
Stage 1: Core Trail Utility
Begin with the problem that affects every trip. For many drivers, that means improving side-forward visibility or creating a consistent place for tools and recovery items. A focused first stage keeps the vehicle practical and makes it easier to evaluate what the next upgrade should be.
Stage 2: Weekend Overland Utility
Once the core setup is working, add storage and cargo-access improvements. Rear window storage can separate small tools and recovery items from camping luggage, while a door hinge step can make roof-mounted boxes, awnings, and other equipment easier to reach during loading and trail stops.
Stage 3: Extended Travel Support
For longer trips, review the complete system rather than adding isolated parts. Check how lighting, storage, fuel or water support, roof cargo, and recovery equipment interact. The goal is to keep essential gear reachable, protect the vehicle from loose equipment, and make routine checks quick at every stop.
Maintenance and Trail-Readiness Checklist
Accessory quality is only part of a reliable 4×4 setup. Regular checks help prevent small installation issues from becoming trail problems.
- Inspect mounting hardware for looseness, corrosion, or contact with nearby body panels.
- Check light connectors, harnesses, and protective sleeves for abrasion or water exposure.
- Confirm that storage panels, pouches, and cargo straps do not interfere with windows or doors.
- Keep heavy items low and secure, especially when using roof cargo or rear storage.
- Clean dust and mud from hinges, steps, seals, and access points after difficult trail conditions.
- Keep a simple record of the installed parts, hardware sizes, and replacement items carried in the vehicle.
What to Check Before You Buy
A good accessory should solve a specific problem, fit the vehicle without unnecessary compromise, and remain useful after the first few trips. Compare the mounting method, material, clearance, weather exposure, access to service points, and compatibility with the rest of the build. If an accessory makes another essential function harder to use, reconsider the layout before installation.
For mixed daily and off-road use, the most effective builds are usually the ones that stay organized, easy to inspect, and simple to reconfigure. That balance gives OMU 4×4 accessories lasting value beyond a single trail or camping weekend.
\n
Final Thoughts
OMU 4×4 accessories work best when they are selected as a system. Lighting, storage, roof cargo, and access upgrades should support the same goal: a cleaner, more practical, and more trail-ready vehicle.
Frequently Asked Questions
What are OMU 4×4 accessories?
They are off-road and overland accessories designed to improve vehicle storage, lighting, cargo access, and trail utility.
Which 4×4 accessory should I upgrade first?
Choose based on your most common problem. Cargo space, lighting, and tool organization are usually strong starting points.
Can OMU accessories be used for daily driving?
Yes, many OMU accessories are suitable for mixed daily and weekend use when installed and used properly.
Are OMU 4×4 accessories useful for camping?
Yes. Storage, roof cargo, Jerrycan support, and lighting accessories can all make Jeep camping trips easier to organize and manage.