
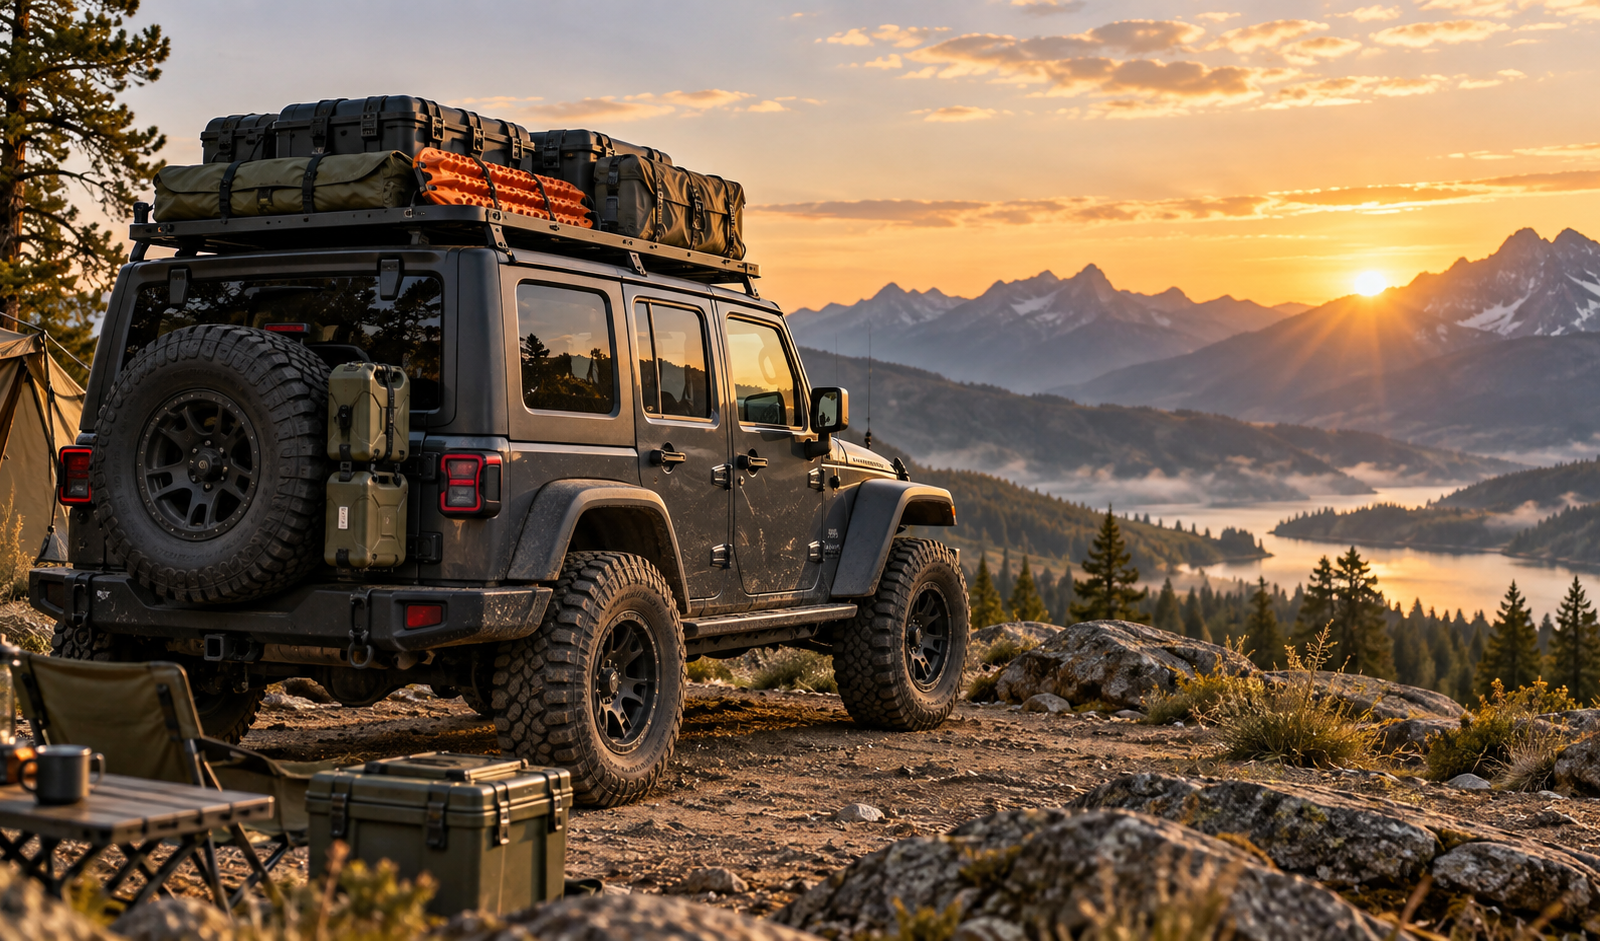
OMU overland accessories are built for drivers who need more than appearance upgrades. Overlanding requires a vehicle that can carry equipment, keep tools accessible, support fuel or water planning, and stay usable during long trail days. A good build should make travel easier, not just make the vehicle look more aggressive.
The best OMU overlanding gear works as a complete utility system. Roof racks, Jerrycan kits, rear window panels, tailgate storage, and lighting accessories each solve a different problem. When they are planned together, the Jeep becomes easier to load, easier to access, and easier to control during real trips.
Overland Accessories Should Be Chosen by Function
A complete overland setup usually includes several utility zones. Each zone should support a specific type of gear. This prevents one area from becoming overloaded and helps the driver find items quickly.
| Overland Zone | Best Gear | OMU Accessory Type |
|---|---|---|
| Roof | Bulky cargo and storage boxes | Roof rack |
| Rear door | Quick-access tools and camping items | Tailgate cargo basket |
| Side body | MOLLE pouches and trail tools | Rear window storage panel |
| Exterior liquid support | Fuel or water | Jerrycan kit |
Roof Cargo: The Foundation of Many Overland Builds
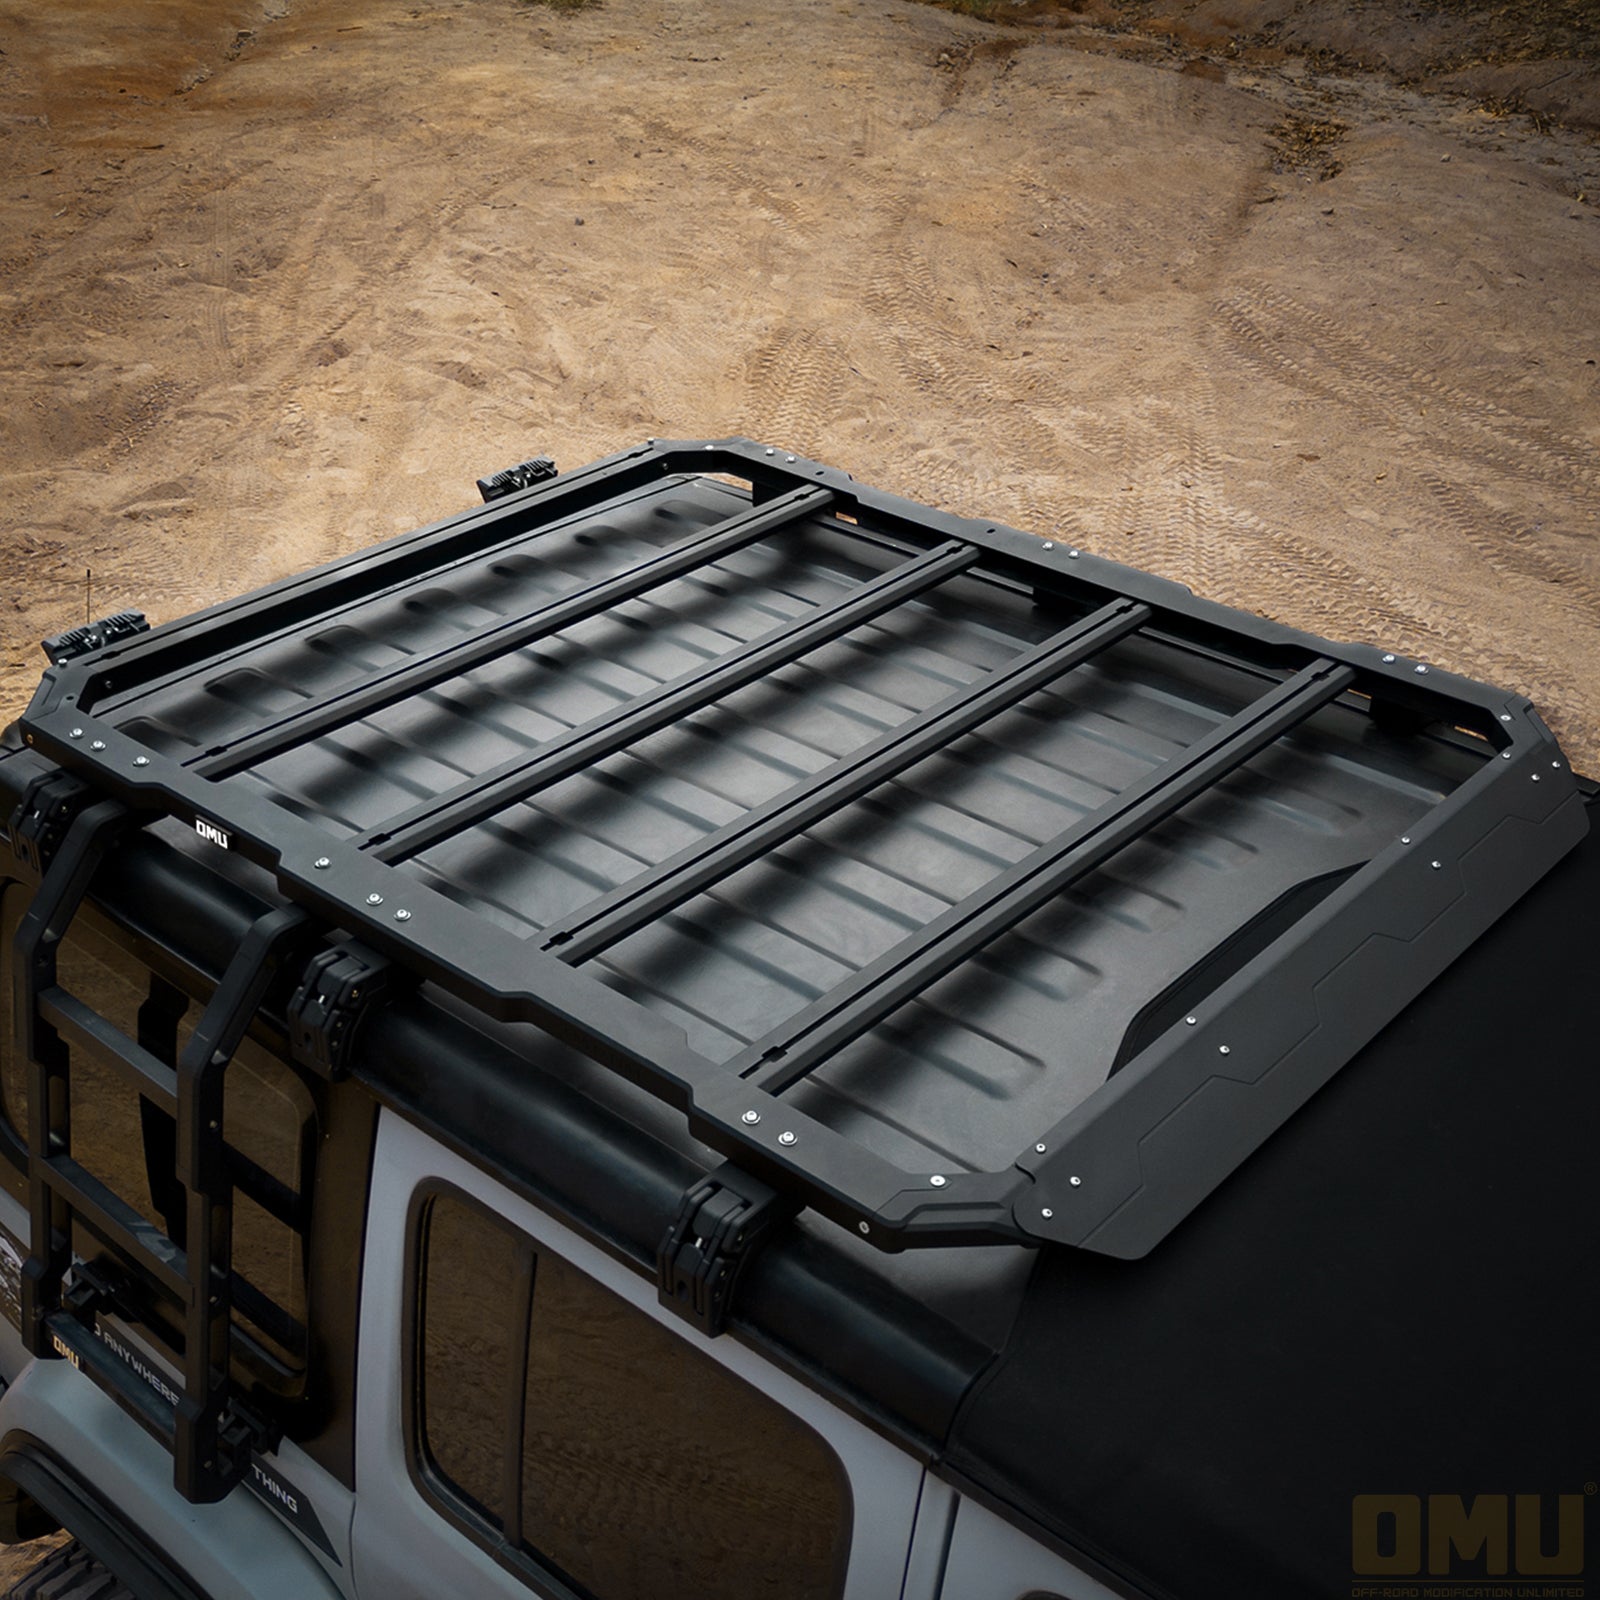
A roof rack creates more usable storage space for camping gear, storage boxes, and larger travel equipment. It helps keep the cabin open for passengers, food, electronics, and protected items.
Tailgate Storage: Build a Rear Work Zone
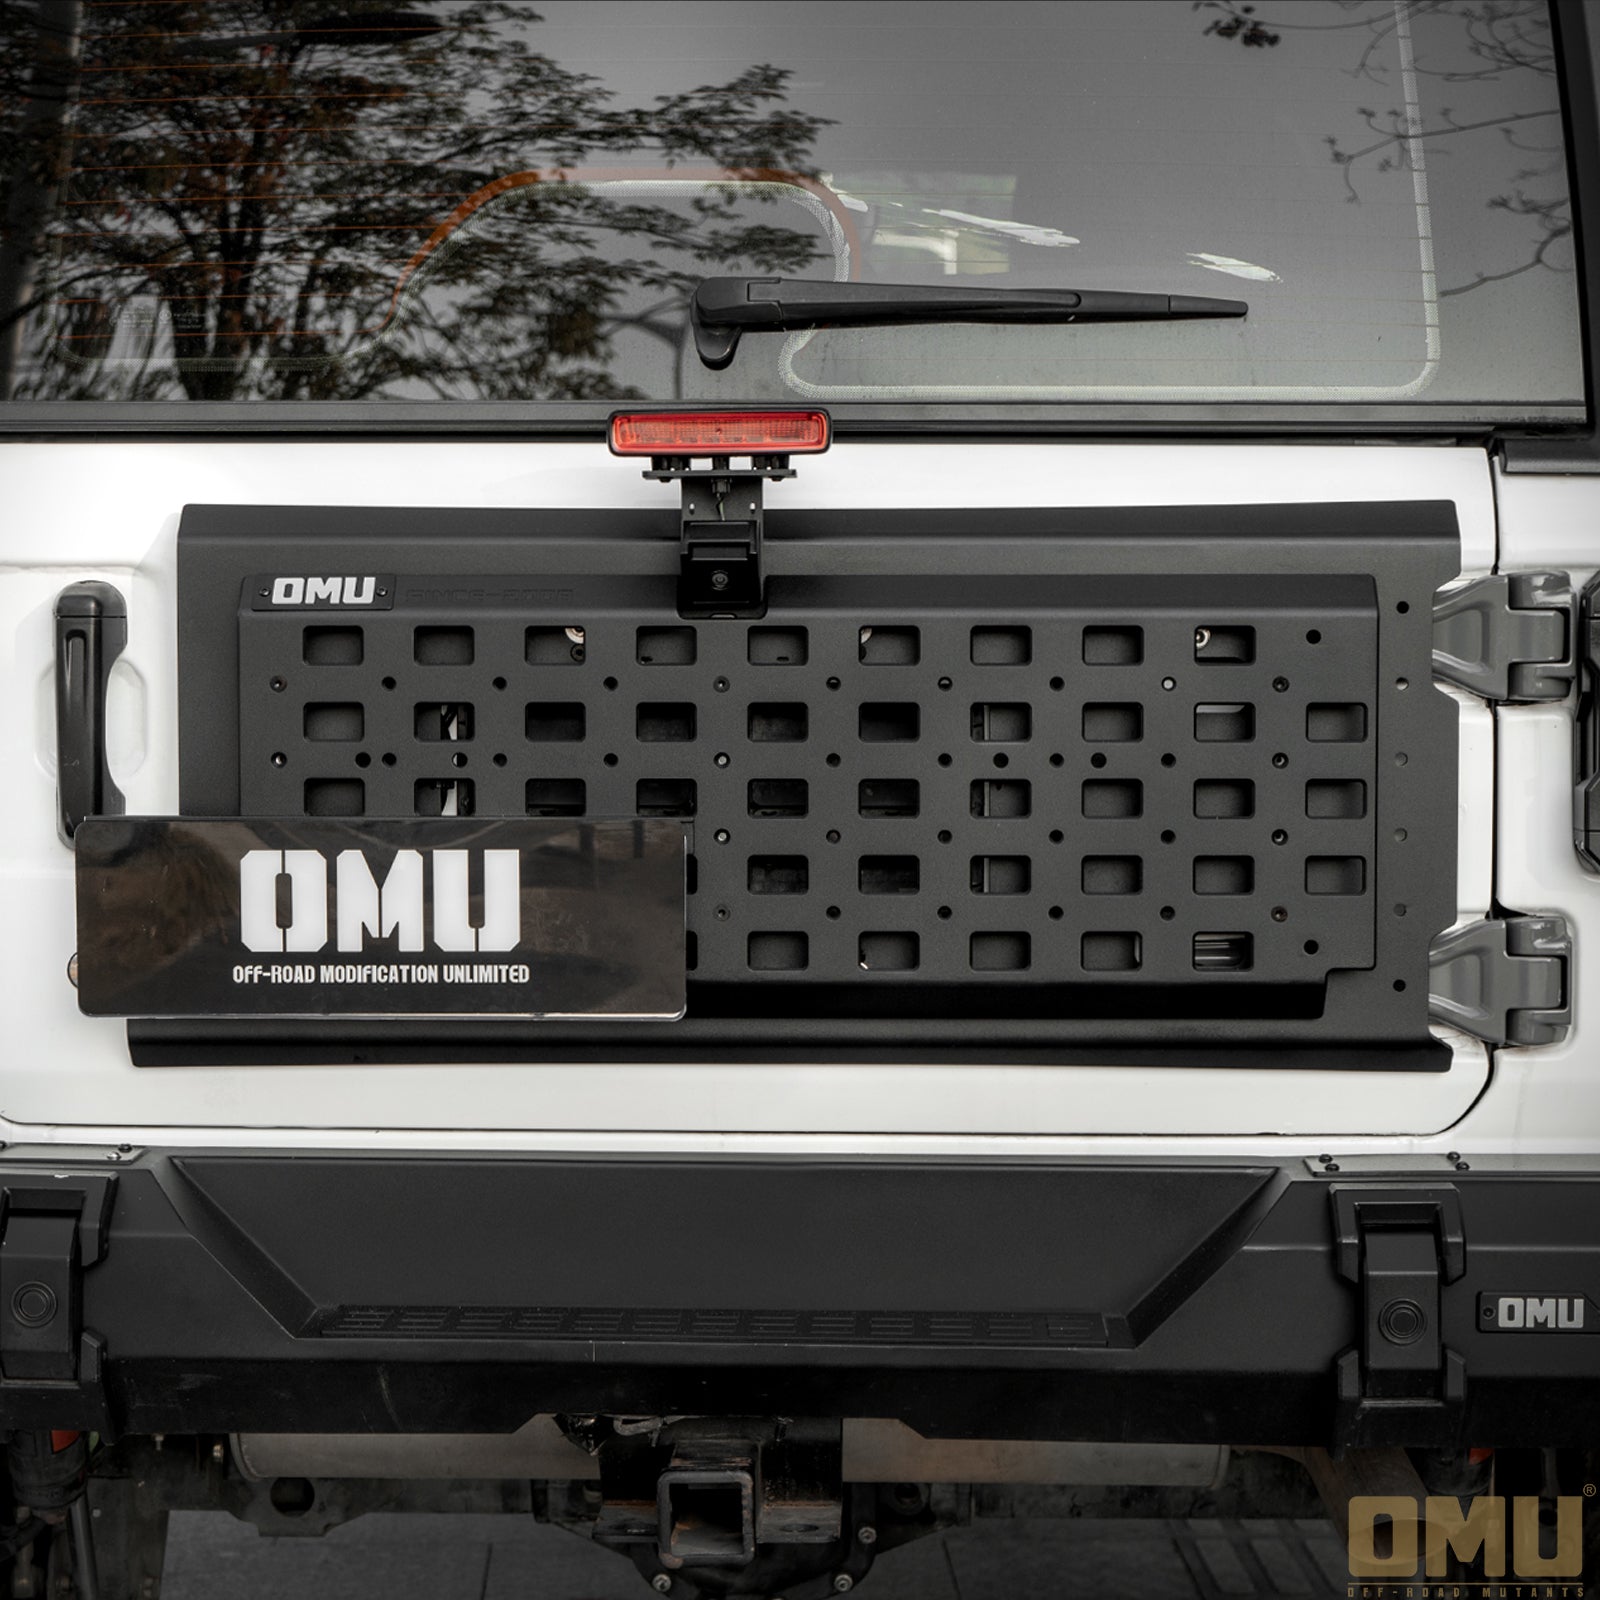
At camp or on the trail, the rear of the Jeep often becomes a work area. A tailgate cargo basket gives frequently used tools, gloves, straps, and camping items a dedicated place. This keeps small gear visible instead of buried under bags.
Fuel and Water Planning
Longer trips require a clean plan for fuel and water. A Jerrycan kit keeps liquid storage separate from the cabin and makes it easier to access at trail stops or camp.
Build an OMU Overland Setup Around Access
A strong overland setup is not only about how much equipment the Jeep can carry. It is also about how quickly the driver can reach the right item. Frequently used tools should stay close to the rear door or cabin, while bulky and infrequently used cargo can move to the roof or exterior storage zones. This simple access rule keeps the vehicle easier to use during loading, camping, and trail stops.
Daily travel and weekend camping
For a mixed-use Jeep, prioritize compact upgrades that do not make everyday driving difficult. A clean roof rack, organized tailgate storage, and practical lighting can support weekend travel without turning the vehicle into a permanent expedition build.
Longer overland trips
Longer trips need more deliberate separation between camping equipment, recovery gear, tools, fuel or water support, and personal cargo. Use labeled bags or modular pouches inside the storage zones so one item can be removed without unpacking the whole vehicle.
Weight, Clearance, and Fitment Planning
Every added accessory changes the way cargo is loaded and may affect clearance around doors, windows, hinges, lights, and the roof. Before installation, confirm the exact vehicle model and body configuration, then check how the accessory interacts with the equipment already on the Jeep.
- Keep heavy cargo as low and as close to the vehicle center as practical.
- Use the roof for bulky, lighter items that are properly secured and protected from weather.
- Check rear door, tailgate, window, and hinge movement after storage accessories are installed.
- Leave clear access to lights, recovery points, tire tools, and emergency equipment.
- Confirm that wiring, straps, and mounting hardware cannot contact sharp edges or moving parts.
- Review the vehicle and accessory load limits before a long trip.
Installation and Trail Check
A finished installation should be easy to inspect. After fitting an accessory, open and close every nearby panel, check the full range of movement, and confirm that the mounting hardware remains tight. Electrical accessories should use protected routing and secure connectors that can be checked without removing unrelated parts.
- Confirm the accessory sits square and does not rub against painted or moving surfaces.
- Check fasteners, brackets, hinges, and tie-down points before the first trail drive.
- Test lights in the actual driving position and verify that they do not block required visibility.
- Open the rear door, tailgate, windows, and roof access points with the full load installed.
- Recheck the setup after the first rough-road trip and after any major cargo change.
Pack Each Access Zone by Frequency of Use
| Access Level | Recommended Items | Best Storage Location |
|---|---|---|
| Immediate access | Gloves, flashlight, tire tools, first-aid items | Tailgate or rear window storage |
| Regular access | Cooking gear, recovery straps, compact camping equipment | Interior cargo area or protected exterior storage |
| Occasional access | Bulky luggage, spare supplies, seasonal equipment | Roof rack or secured rear cargo area |
Three Practical OMU Overland Packages
Compact weekend package
Combine a roof rack or cargo carrier with organized tailgate storage and auxiliary lighting. This package works well for short camping trips where the driver needs better access without adding unnecessary equipment.
Utility-focused trail package
Prioritize rear window storage, recovery gear organization, lighting, and a clear service layout. The purpose is to keep tools and trail equipment reachable while leaving the cabin usable for passengers and daily driving.
Extended travel package
Build around storage capacity, roof access, fuel or water planning, weather protection, and maintenance checks. Before departure, test the complete loaded system rather than evaluating each accessory separately.
Before Every Trip
Take a few minutes to confirm that the load is secure, access panels operate correctly, lights and connectors are protected, and essential recovery or emergency items are reachable. A well-planned OMU overland setup should reduce preparation time and make the vehicle easier to manage throughout the trip.
Final Thoughts
OMU overlanding gear is most effective when each accessory has a clear role. The result is a Jeep that packs cleaner, travels farther, and handles real trail use with less frustration.
Frequently Asked Questions
What are OMU overland accessories?
They are accessories designed to improve cargo storage, trail access, fuel or water support, lighting, and practical vehicle utility for overland travel.
What OMU overlanding gear should I start with?
Most owners begin with cargo and storage upgrades, then add lighting, Jerrycan support, and roof access accessories as trip needs grow.
Why is modular storage useful for overlanding?
Modular storage keeps gear separated by function, making tools, camping items, and recovery accessories easier to find during real use.